Showing posts with label christmas. Show all posts

Friday, December 23, 2011

Christmas Tree Bible Quote

 Sorry about the long absence people!  We finally got moved into our new house and are somewhat settled.  Man, I forgot how much work moving is!  The hardest part for me though was we had trouble with our phone lines and it took forever to get a technician out to fix it so I could get my Internet working.  I was 17 days without Internet access.  I have felt so disconnected from the world!  It sure feels good to be back!

Anyway, a couple weeks ago was WYLTC and I wanted to share my project with you in-case you missed it over there.  The theme this month was Christmas (of course!) and everyone made some super cute stuff.  So be sure to check them all out.

I'll be back tomorrow with a progress report on our house at this point.  Although there is still a ton to do, we have come SO far!

--------------------------------------------------------------------------

Hello!  Krystal from Sassy Sanctuary here.  Isn't Melinda's Christmas tree stand adorable?!  What a fun alternative to a tree skirt.  Unfortunately, just like last month, I am in the process of moving and don't have access to any of my power tools.  I don't have a tree yet either, so a tree stand was out for me.  Bummer, cause its SO cute!

(Before you feel too bad for me though, we are moving TODAY so things are finally going to start to settle down!  Hooray!)

So instead of a tree stand I just thought about Christmas Trees in general. (that works right!?) I went to the craft store and found a frame that had a 12x12 opening and decided to make one of those cute signs that uses a quote as the shape of the tree.... you know.... like this!


Now, I have to confess that this was one of those projects were everything went wrong!  First I painted the frame and the board inside the frame the same grey color, used vinyl to make a stencil for the text and antiqued the heck out of it.  It was cute but the colors I used were so similar that it was hard to tell what it was from a distance.  I hated it.

So I redid the inside of the frame only (the outside stayed) in a cream color and used a bolder color pallet to paint on the text.  This time though, for some reason when I pulled up the vinyl stencil it took half the paint with it.  It was a disaster!

Then miracle of miracles, I got a fun package in the mail from Oh My Crafts later that very day.  They sent me some vinyl to review  (more on that later!) and they had a ton of colors.  So I decided to give this poor sign one more shot.  This time I painted the inside of the frame a light grey color, I added some "birchwood" texture inspired by my friend Sarah (although mine turned out more like a snow storm) and then just cut the text from the vinyl.  

I worked like a dream! (the OMC vinyl is amazing!)

I love how it turned out and I LOVE the bible verse to remind me what Christmas is really all about.  And it looks great with the rest of my mantle decor!


The outside of the frame turned out super cute too with the little stencil I put on the corners.  I'm thinking once Christmas is over I will reuse the frame with something else.


Anyway... I thought it would be fun to share the file I used to make the tree.  So if any of you are silhouette users, you can click HERE and download the file to cut a bible verse tree of your very own. 
Personal Use Only Please!

(let me know if that link works since I've never shared files that way before.)


I hope you all have a very merry Christmas!


As always I'm linking to these great parties and events:

Tuesday, December 21, 2010

I'll be HOME for Christmas.

I wanted to show off my home all decked out for Christmas so you guys can get an idea of the final product of all the little things I've been showing over the past month.  I decided the best way to go about that is to take you on a video tour.  So here we go!


And for those who don't want to go on the tour, here are a few photos to sum it up.


And the classic Christmas tree at night shot, in all her glowing glory. 


Merry Christmas!

The DIY Show Off    Visit thecsiproject.com

Monday, December 20, 2010

Raffia Wrapped Stars

Another one of the things I was inspired by in Pottery Barn's catalog was the lighted snowflakes and star votive holder.

Vine Star Wall-Mount Votive Holder, Antique Bronze finishWoven Twig Decorative Snowflake, Large

My original plan was to make a few lighted stars.  But then I started worrying about how I was going to hang them (I knew I wanted them hung from my curtain rod) and still get access to a plug.  I thought about going the battery powered route, but then found out that a string of battery powered lights uses 2 C batteries and has a ginormous box that I would have to hide.  So in the end I decided to keep it simple and nix the lights.

Here is what I came up with.


Wanna know how to make your own? I actually made these several weeks ago and have since seen a few variations around the blog world but here is how I did mine.  While it was a relatively easy and inexpensive project, it was a bit time consuming so you are warned.  Lets get started.


I started with 5 three foot dowels. (A)  This will be enough for three stars.  You need to cut your dowels down into 1 foot sections, or whatever size you want your stars to be. (B) I used my pruning sheers to cut them and it worked like a dream.  I then printed off a "prefect star" from the internet because I was worried about my angles being off and used that to line everything up. (C)  You just hot glue the dowels wherever they touch to get your star frame.  Remember that some of the dowels can go behind.  The more connection points the better. (D) You may notice in the pic that I used some wire on the joints, this was total overkill and I only did it on one. Once complete, these babies are surprisingly sturdy.   You then take a chunk of raffia and start wrapping, using hot glue to secure as needed. (E)  About an hour and several blisters later you will have this. (F)  It needed a hair cut so I trimmed a few of the stragglers. (G)  Then just tie a loop of ribbon to the top so you can hang (H) and then repeat two more times. 

If you want to attempt a lighted star, just wrap in Christmas lights before you wrap in the raffia.


So there you have it, raffia wrapped stars!  I know I've said it before but who needs Pottery Barn?!

Linking to THESE weekly parties and events:


Creations by Kara

Monday, December 13, 2010

"Wall of Frames" Photo Booth

I am so FREAKIN excited to finally spill the beans on what I've been up to for the past few weeks.  I've been really hush hush about it, even to my family, because I wasn't sure we could pull it off.  But OMG, now that its done, it is unbelievably awesome.

It all started when my BFF Cola (you are going to hear more about her and her new blog soon) and I were having a play date and came upon this idea.  Cola, who is very entrepreneurial, saw this as a fun fresh idea with dollar signs in mind.  I saw it as seriously cute Christmas card potential.  So we decided to work together and make our own Christmas inspired "wall of frames" photo booth.  Before I show you all the how-to's and details, here is the finished product.  My 2010 Christmas Cards, coming soon to a mailbox near you!


Here is the final family photo minus all the card junk.


So fun right?!?  I love it and we are so impressed with ourselves.

Here is what we did.

We gathered a bunch of old frames from thrift and antique shops.  We wanted it to look like it could be a wall at your Grandmother's house so we went with a very eclectic "gathered over time" look.  We painted several of the frames that needed it.  We decided which three were going to be our openings (the three that were big enough for a person to stick their head through) and settled on a layout.  We then filled the rest of the frames with Christmas pictures printed from online images.  Cola was the mastermind behind finding and printing all the images.  We weren't concerned about our images having great quality since they'd only be viewed through a picture.

We then got a sheet of plywood, laid everything out and cut our openings.  We decided to wallpaper the board using wrapping paper.  It was a disaster!  So in the end we actually just wrapped the board with the paper like you would a gift and taped it in the back.  My wonderful, amazing, patient, talented husband (yes I'm sucking up here, he wasn't so thrilled about the whole thing)  was kind enough to build the actual structure for us.  He made the legs and did all the cutting.  The legs are easily detached with two screws for easier storage. Then we just hung all the frames and it was photo shoot time! Here are some pictures of the actual structure.


And a few closer looks at our frames.


(LOVE the crackle on this baby!  We achieved this look with nothing other then Elmer's glue and craft paint.  So proud!)


Cola was also our photographer.  She did a great job but REALLY impressed me when it came time to edit.  My son was being a pill and wouldn't cooperate.  We only got one decent shot of him, but not to fear, Cola was able to take the best one of the rest of us and just photoshopped my son into the shot.  Amazing, I know!  I am now convinced that I have to learn Photoshop.

So there you have it, that is how I came to have the coolest Christmas cards on the face of the planet.


Now if you are thinking "wow that's cool but seems like a lot of work for a Christmas card" then you are absolutely correct.  It was a lot of work.  But we are going to advertise it and try to rent it out for parties.  We can easily replace the background paper and images within the frames to fit any party theme, be it a wedding, office party, birthday bash, or school dance.  We may even try to take it to the State Fair next year so people can get a jump on their Christmas cards.  Who knows what will come of it, but the possibilities are endless.

Linking to THESE parties and events:
get-your-craft-on 

Wednesday, December 08, 2010

Yarn Cone Trees

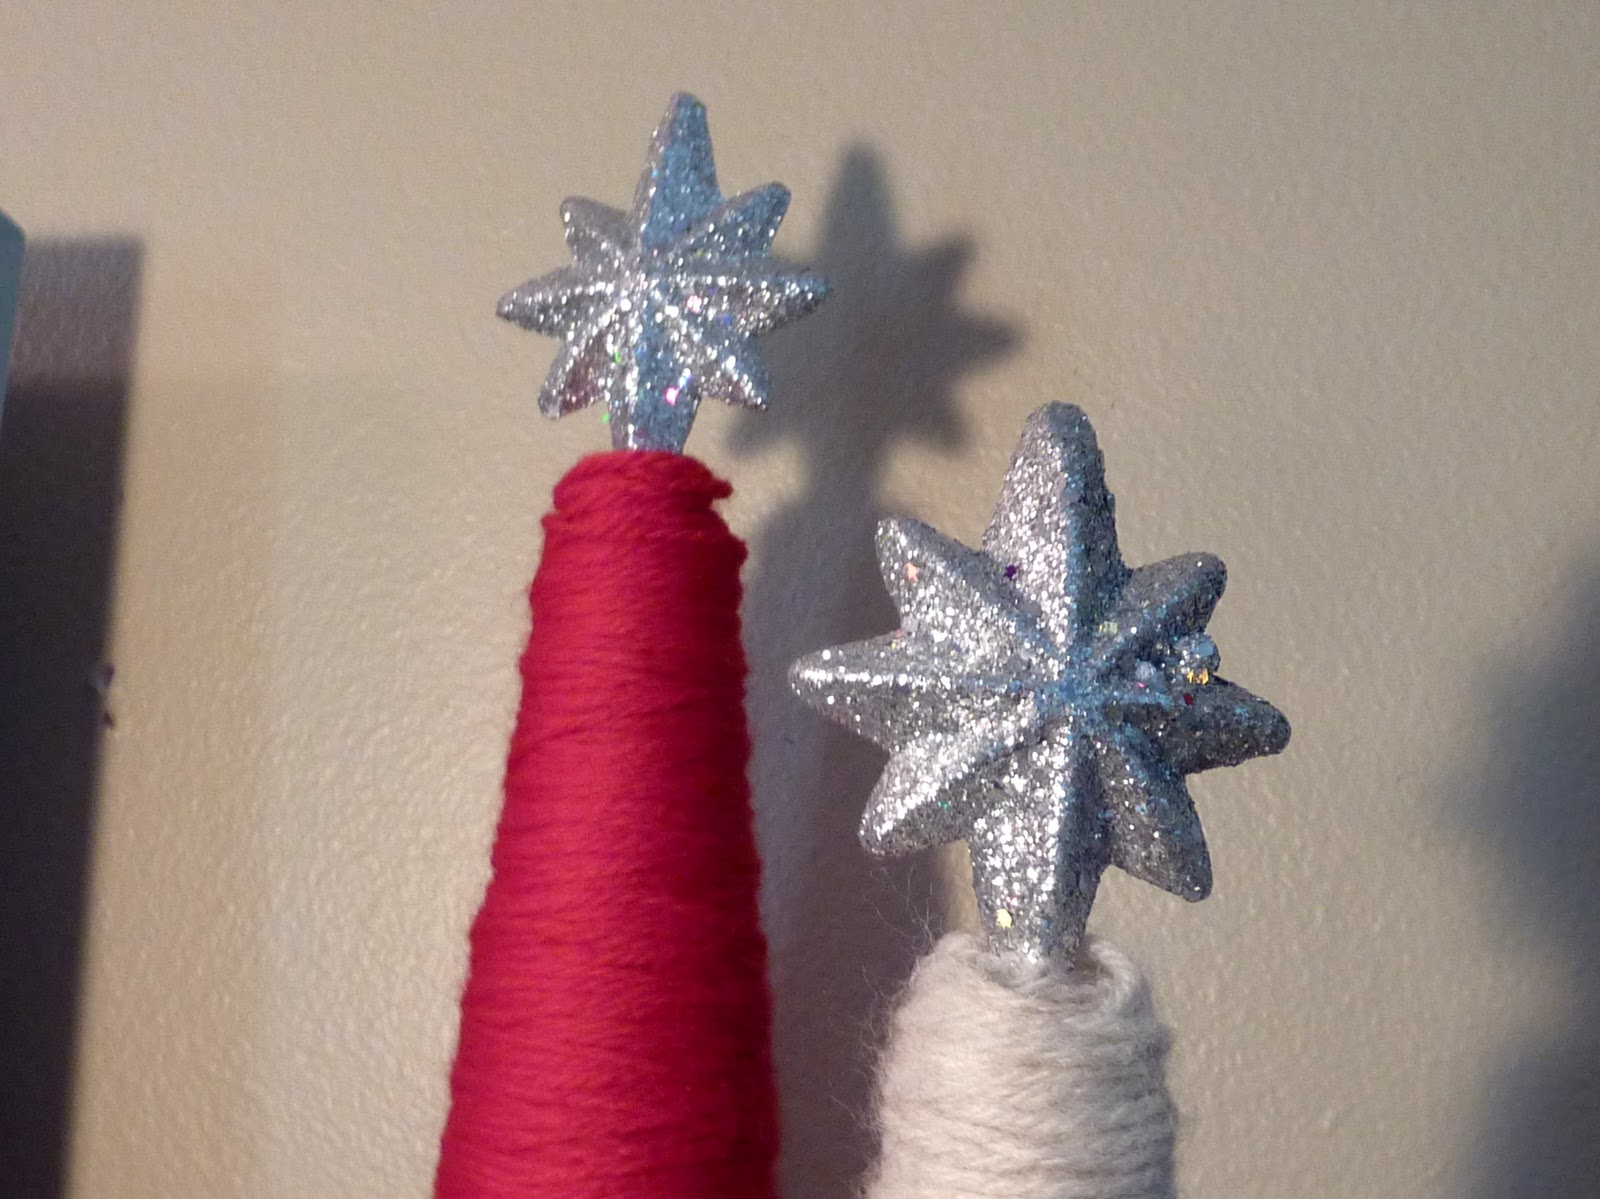
I have seen so many adorable cone trees lately! So when I decided my mantle needed more height I jumped on the band wagon and made these!


Now, I didn't bother to take pictures along the way, but I will tell you how I did it....

I took some foam cones and wrapped them with yarn.  The End.

Seriously, it was that easy.  I did use a little hot glue to keep things in place along the bottom and the top.  A also stuck a couple star picks I got at Micheal's into the top.  These were the easiest project ever.


I just love the texture from the yarn!


They added the height and color I needed.  Love them!


So have you made any cone Christmas trees yet?  Well, what are you waiting for!? Get to it!

Monday, December 06, 2010

Frame Christmas Card Holder

When I got my Pottery Barn and Ballard Design Christmas catalogs in the mail, I immediately started scouring them for knock-off ideas.  I got a bunch of great ideas from both that you will see more of, but one was this awesome Frame Card Holder.  The best part, it was only $199.00! (gasp, choke, cough)

Gilt Frame Card Holder

All it is is a frame with some wire strung across it, good grief! I love having a place to display all the cute cards we get each year (and actually keep all my old cards) so I knew this would be the perfect knock-off.  And guess what, mine was FREE!  (you saw a sneak peek when I showed off my mantle display)

Pretty cute!  Now, I did change things up from how pottery barn did theirs but that just makes it all the better right?!?

Here's what I did.  It all started with this picture I got for free at an antique store. A girl friend and I were scouting for frames for another project (more on that later) and the shop owner gave us two of these bad boys for free. Ahhh, love nice people!


Ain't she a beauty! 

All I did was remove the picture and paint the frame.  I did a red base coat, then a coat of white, then sanded that down to expose a bunch of the red.  Lived with it for a day and decided I hated it. (tell me you guys do that too!) So I decided to crackle it.  I painted a layer of Elmer's Glue on it, let that sit up till it was tacky, but not all the way dry, and then did a coat of blue.  Once everything dried I ended up with this lovely finish.  Love it!


I then took that same lovely picture I removed, turned it over and painted the back side a dark brown.  Once that was dry, I took some yarn and wrapped the board, taping it on the back to secure like so....


Then just pop it back in the frame, and there you have it!  You can either slide the cards between the strings like I did, or you could get little clips.  Either way its a super cute and fun way to display those Christmas cards!


These are actually cards form last year.  That's my adorable little nephew.  I can't believe how much he has grown from last year!

Well, there you have it! A frame Christmas card holder.


Take that Pottery Barn!

Linking to THESE parties and events:

Friday, December 03, 2010

Inspiration File

A few things to share this week.

First up, Eighteen25 made this adorable "Drummer Boy" shirt.  Isn't that so cute?!?  I have yet to try heat transfer, but now I'm inspired. Gotta try it!


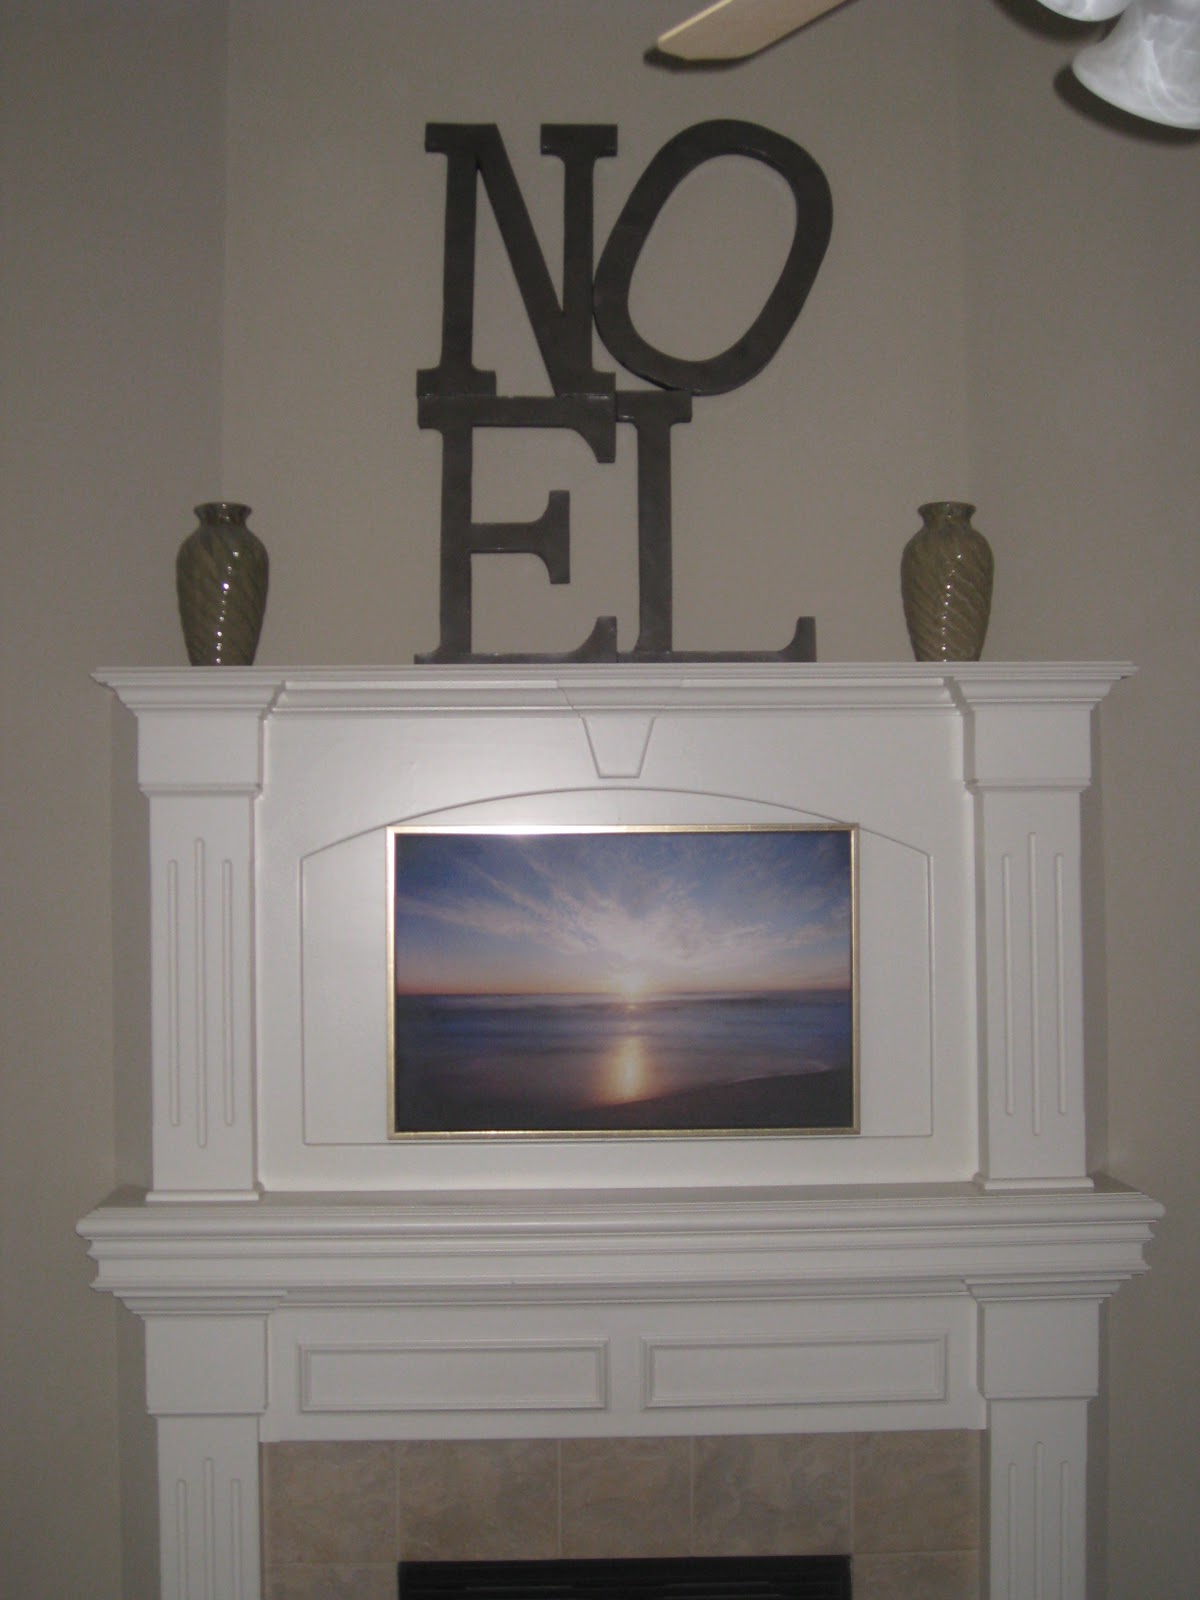
Now, when I originally planned out the crafts I wanted to tackle for Christmas, I was planning on doing a knock-off of Pottery Barn's Noel Sign.  But in the end I decided I didn't have a place for it, nor the time to do it, so I scratched it off the list.  However, I was excited to find TWO knock-off's from fellow bloggers this week!  That's the best thing about blogging (and following other bloggers) is that you never have to buy name brand again!

The first is from Crafting in Cowtown.  She made hers with paper mache letters and bronze hammered spray paint.


And the second is from The Stories of A to Z.  Beth's sister Kim made hers out of mdf letters from Micheal's painted red and brown. So pretty!  Who needs Pottery Barn?!?


That's it for today, remember to grab a button if you were featured. 

LinkWithin

Related Posts with Thumbnails
Don't stop there! Click "older posts" to keep reading!