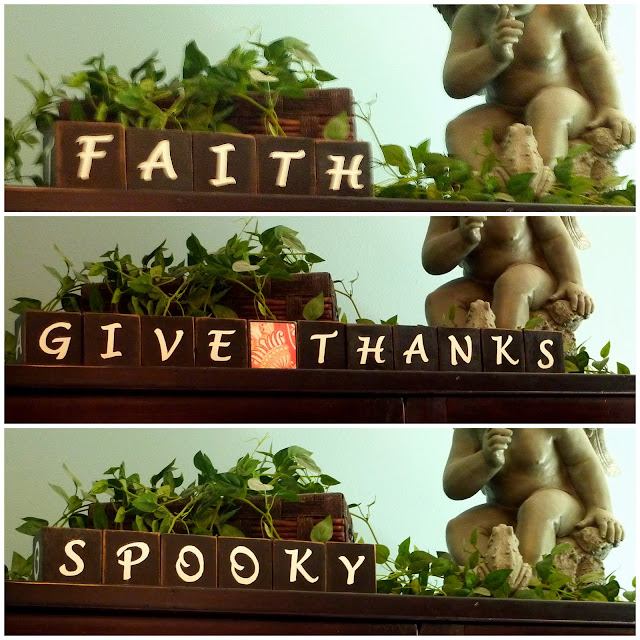
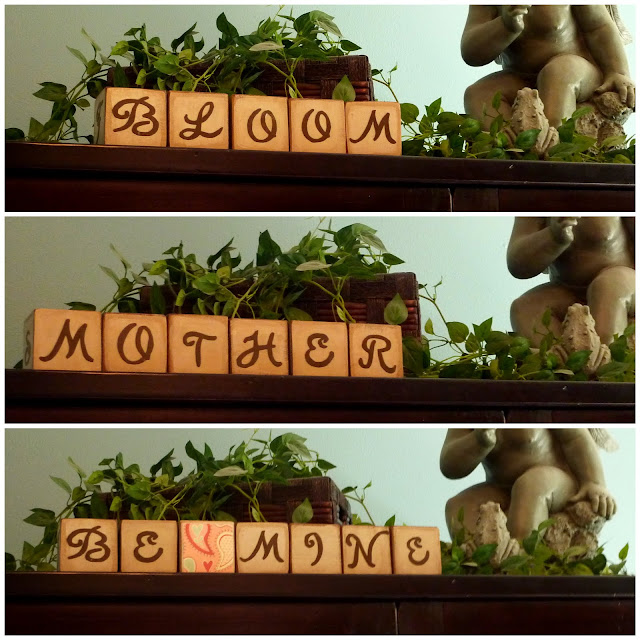
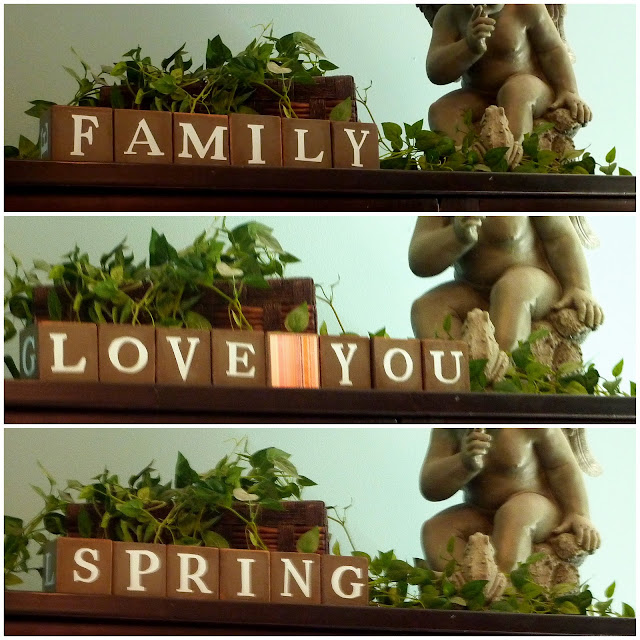
If you want to see my first failed attempt at these blocks, you can see them HERE.
Wooden blocks are super cute and trendy right now and I love how they look mix into seasonal decor. The problem is that you have to have a set for every season or holiday, and then you have to store them somewhere when they are out of season. So when I came upon this fabulous idea HERE , I knew I wanted to make me some! All you do is make 10 blocks, each with 6 letters, and than you can spell out over 80 words! (The original post had four letters per block and could make about sixty words, so I'm proud to have discovered the extra letters to make some really great words, including Give Thanks, Be Mine, Christmas, and Let It Snow.)
Want to make your own? Here's how! (Sorry for the lack of pictures, I only stop for the camera a couple of times.)
Step 1: Get wooden blocks. I was shockingly surprised at how expensive blocks were at the craft store. So I went to Lowes were I found 3x3 posts. I (with the help of my hubby) was able to cut 13 blocks out of one post. I than sanded the cut edges "somewhat" smooth.
Step 2: Paint your blocks. I used acrylic craft paint and did a couple coats. You can use any color to match your decor. My one suggestion would be to keep them neutral enough that you can mix them with your other holiday decorations.
Step 3: Sand your blocks. I wanted a distressed look so I lightly sanded the surface and really went at it at on the edges. I actually used a palm sanded and it made my life a lot easier.
Step 4: Stain. I used a basic wood stain (minwax early american) slathered it on and then wiped away any excess. This will stain any areas that you exposed the bare wood and give a antiquing to your paint finish.
Step 5: Cut your letters. Using scrapbook paper cut out paper letters. For those who are lucky enough to own a craft cutter, this will be an easy task. For the rest of us it is a little less simple. I wrote the letters up in a photo editing program in a font I liked. I than mirrored the image so that after I printed and cut the letters out, the "right" side wouldn't have any computer ink. My program also allowed me to outline the letters so I didn't have a huge inky mess. I than cut them out with scissors, using an exacto knife in tight spaces.
Step 6: Apply the letters. I used Modge Podge to apply the letters to my blocks. I carefully made sure that all the letters were firmly down.
Step 7: Seal. Using a spray acrylic finish, spray all sides of your blocks. I chose a matte finish but a gloss would look nice too.
OPTION: Since I had extra blocks I decided to make 3 additional "decorative" blocks. I finished them the same as above just instead of putting on letters, I put on squares of seasonal scrap paper using Modge Podge. (Christmas, Easter, 4th of July, Thanksgiving, Fall, Summer...etc) They are fun to mix in with the other blocks or use as spacers between words. Here is a small sampling of some of my decorative options.
So here are the letters you need on your blocks:
Block 1: H Y E D A N
Block 2: A C R S N I
Block 3: R P E T U N
Block 4: V N L O A S
Block 5: E O M D S R
Block 6: S M K I A O
Block 7: T F B W Y E
Block 8: U A G L Y T
Block 9: P J I H O W
Block 10: F P S C U E
And with those letters you can spell (in no order what-so-ever)....
Birthday
Flake
Hearts
Christ
Jesus
Bloom
Flag
Irish
Sun
Sunny
Swim
Pool
Ghost(s)
Witch(es)
Peace
Bunny
Be Mine
Vampire
Fright
Thanks
Fairies
Jolly
Flowers
Wishes
Leaf
Treats
Turkey
Party
Heart
Smile
Wonder
Dance
Thankful
It’s a boy
Harvest
Welcome
Faith
Family
Spooky
Friends
Winter
Freedom
Blessed
Fall
Happy
Merry
Joy
Grace
Rainy
Country
It’s a girl
Fairy
Snow
Home
Hope
Monster
Mother
Dream
Easter
Lucky
Lucky You
Love
Love You
Santa
Garden
Let it Snow
Imagine
Halloween
Glory
Romance
Pumpkin
Frosty
School
Autumn
Spring
Spring Time
Summer
Father
America
Brrr
Believe
Christmas
Snowflake
New Year
Give Thanks
Kitchen
and I'm sure a ton more! (I keep finding other options)
As I mentioned before I decided to make four sets as mother's day gifts. My hubby wondered why we couldn't just get them some bath products but I insisted this would be "SO MUCH FUN!" Boy did I bite off more than I could chew. If you do the math, I made 52 blocks and cut out 240 letter by hand! I wasn't able to get them ready for Mother's Day but I'm sure they will love them and be well worth the wait.
I made a black set for my Mom,

the brown set is for my Mother-in-law,

the green set is for my step Mother-in-law,

and the grey set is for me!
 Sorry about the blurry pictures, photography isn't my strong point.
So which one is your favorite?
