Sunday, October 30, 2011

Pumpkin Bean-Bag Toss

So, before Halloween is over and its too late, I wanted to show you guys the Halloween Bean-Bag Toss I made for our church party on Friday.  I was really easy and we had it done in an afternoon, so its not too late to make one last minute for your Halloween parties tomorrow night. (and of course the same idea could be applied to ANY theme, anytime of the year!)

Just get a piece of plywood.  My neighbor got our board from Home Depot and it was a clearance "cut" piece and only cost about $2.

Then draw your shape on the board and cut it out with a jig saw.  (I will confess, this was my first time ever using the jig saw but it was SO easy! You can do it!)


To make cutting the inside parts easier, you can drill holes in all the corners to make it easy to turn your blade.   (you can kinda see where the hole was drilled in the photo below)


 Then just paint it!


It turned out so cute and was such a fun afternoon project!  The kids had a blast with it at our party too, which was the best part!

You could get fancy and build a stand, but we kept it simple and just leaned it up against a wall.  :)

Hopefully it will be used for many Halloween parties to come!

As always I'm linking to these great parties and events:

Wednesday, October 26, 2011

Wooden Signs = Easy Art!

A couple of things to share this week...

First up, I wanted to give a little shout-out to Saltbox House.  I won a giveaway over at The Bird's Papaya for any sign from her shop.  It was a tough choice because they all are adorable!  For real, go check them out!  Anyway... I just loved the "Life is Fragile, Handle with Prayer" sign and knew that would be my choice.  But I was really hoping for something in blue and grey to go with my new color obsession.  Jackie was so sweet and made a blue and grey one just for me!  I just think that's so above and beyond, especially for a giveaway item.  Thanks so much Jackie!

Want to see it?  It so cute!  Since we are moving in the next month, I just put it in my kitchen window, but it's sure to find a great home in the new house!


Speaking of wooden signs, this past week I led the ladies in my church in a craft night.  I taught two wood craft.  One was my All Season Blocks I made a year or so ago.  The other was these adorable wooden quote signs.


The design of which I shamelessly stole from this Etsy Seller.  She has a ton of cute wood crafts and signs so check her out too!

Anyway, the boards are all 9x9 squares and I made a stencil out of vinyl to paint on the text.  I love how the distressing turned out on these guys.


I did my basic sand and then a coat of wood stain technique, but it really made my white letters dingy.  So then I took a wet rag and just scrubbed the letters.  I was able to go through to the base coat in some spots, just make it white in others, and leave the dingy stain in some spots too.  I just love the look!

It was a ton of fun watching everyone at our craft night put their spin on it and seeing all the color combinations.

Anyway, that's it for now.  I will be back in a few day with a progress report on the new house.  We closed yesterday and my husband has gone down to start demolition.  So excited!

As always I'm linking to these great parties and events:

Thursday, October 20, 2011

Before Pictures

So... we don't officially close on the "new" house till next week, but I'm going to go ahead and show you guys some pictures of it as it looks right now.  It is a banked owned property and in rough shape, but nothing terrible... just cosmetic issues.  But most importantly, its in a really great neighborhood.  I think we will be really happy here.

Here is the house from the front. (excuse my sister's butt... hehe)


While it needs some landscaping, we have to fix some broken concrete, and I'm SOOO painting the door and those shutters... its a cute house.

This is the front room.


The pictures are deceiving in how dirty this place really is.  We are ripping out all of the flooring and repainting every surface... before we move in!  I love the bay window and vaulted ceilings though. 

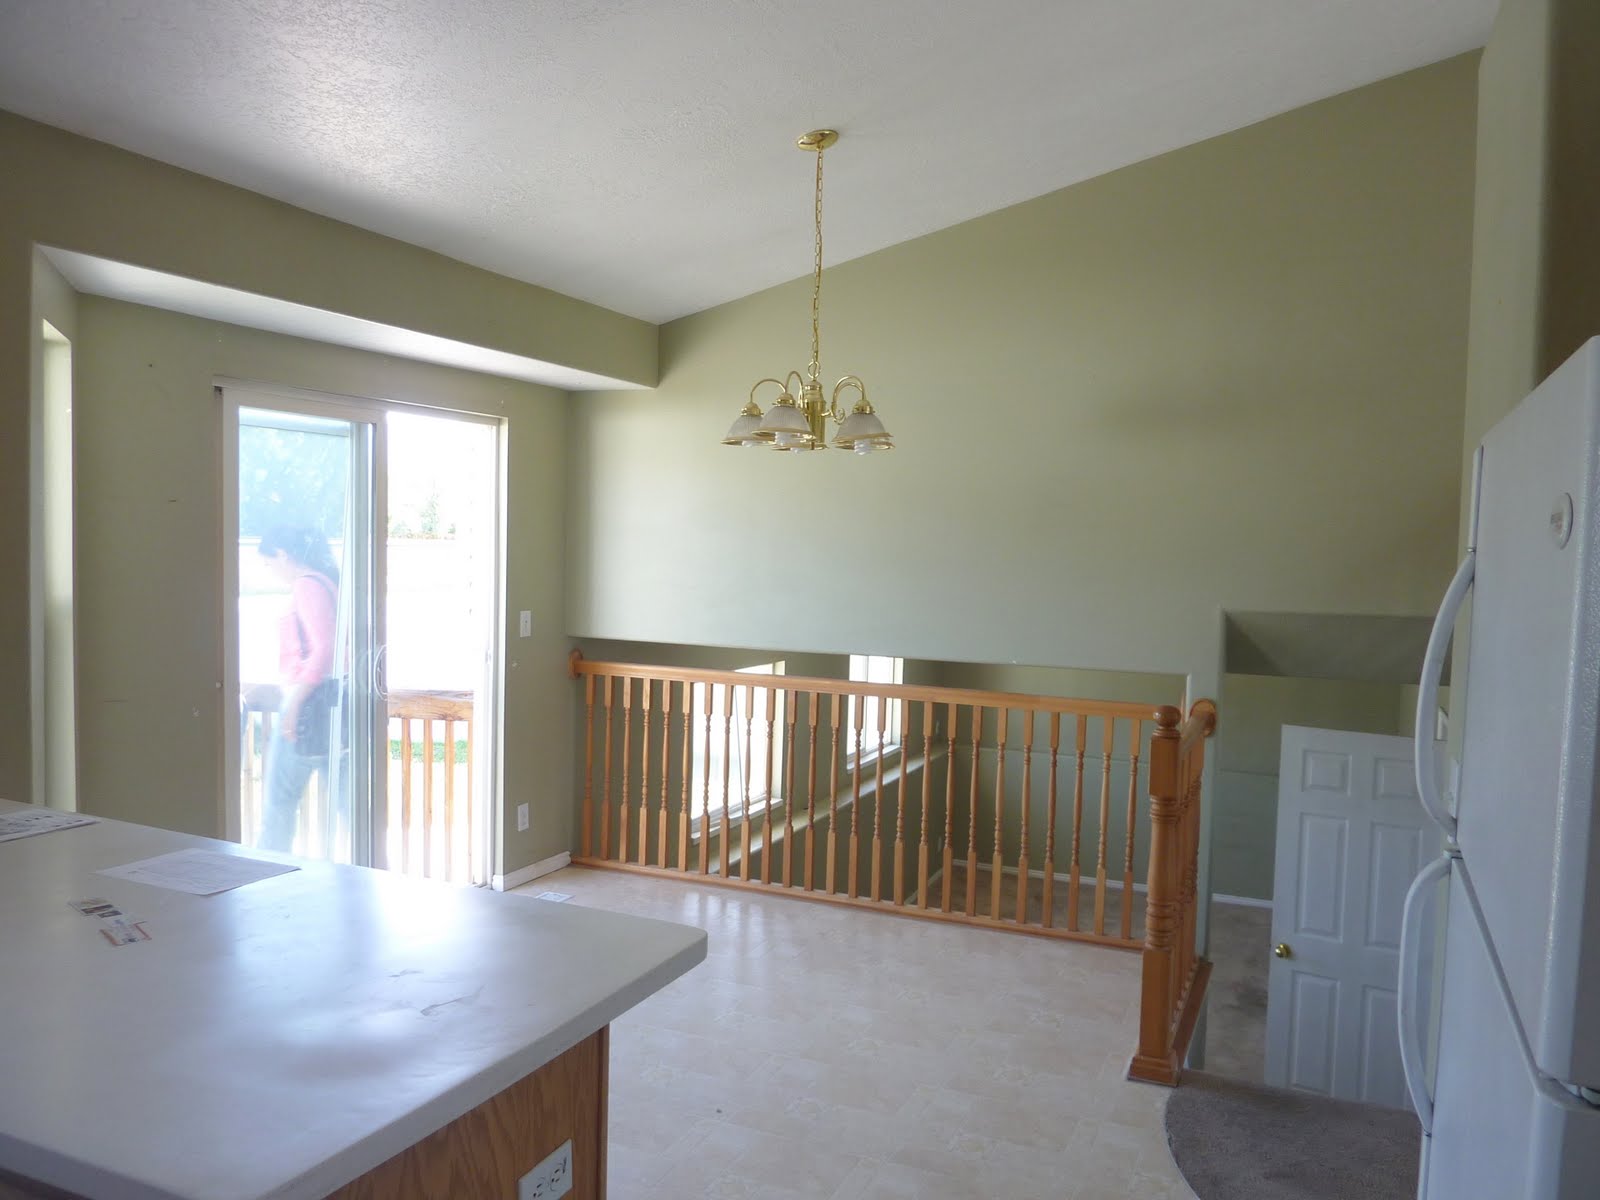
Behind the front room is the kitchen and dining space.


Very plain Jane... and burnt.  :)  The microwave has seen much better days!  So we are getting all new flooring, new appliances, new paint, and I'm going to refinish the cabinets in the next month or so.  We plan on eventually putting granite counter-tops in and tiling a backsplash, but that may be a little later down the road.

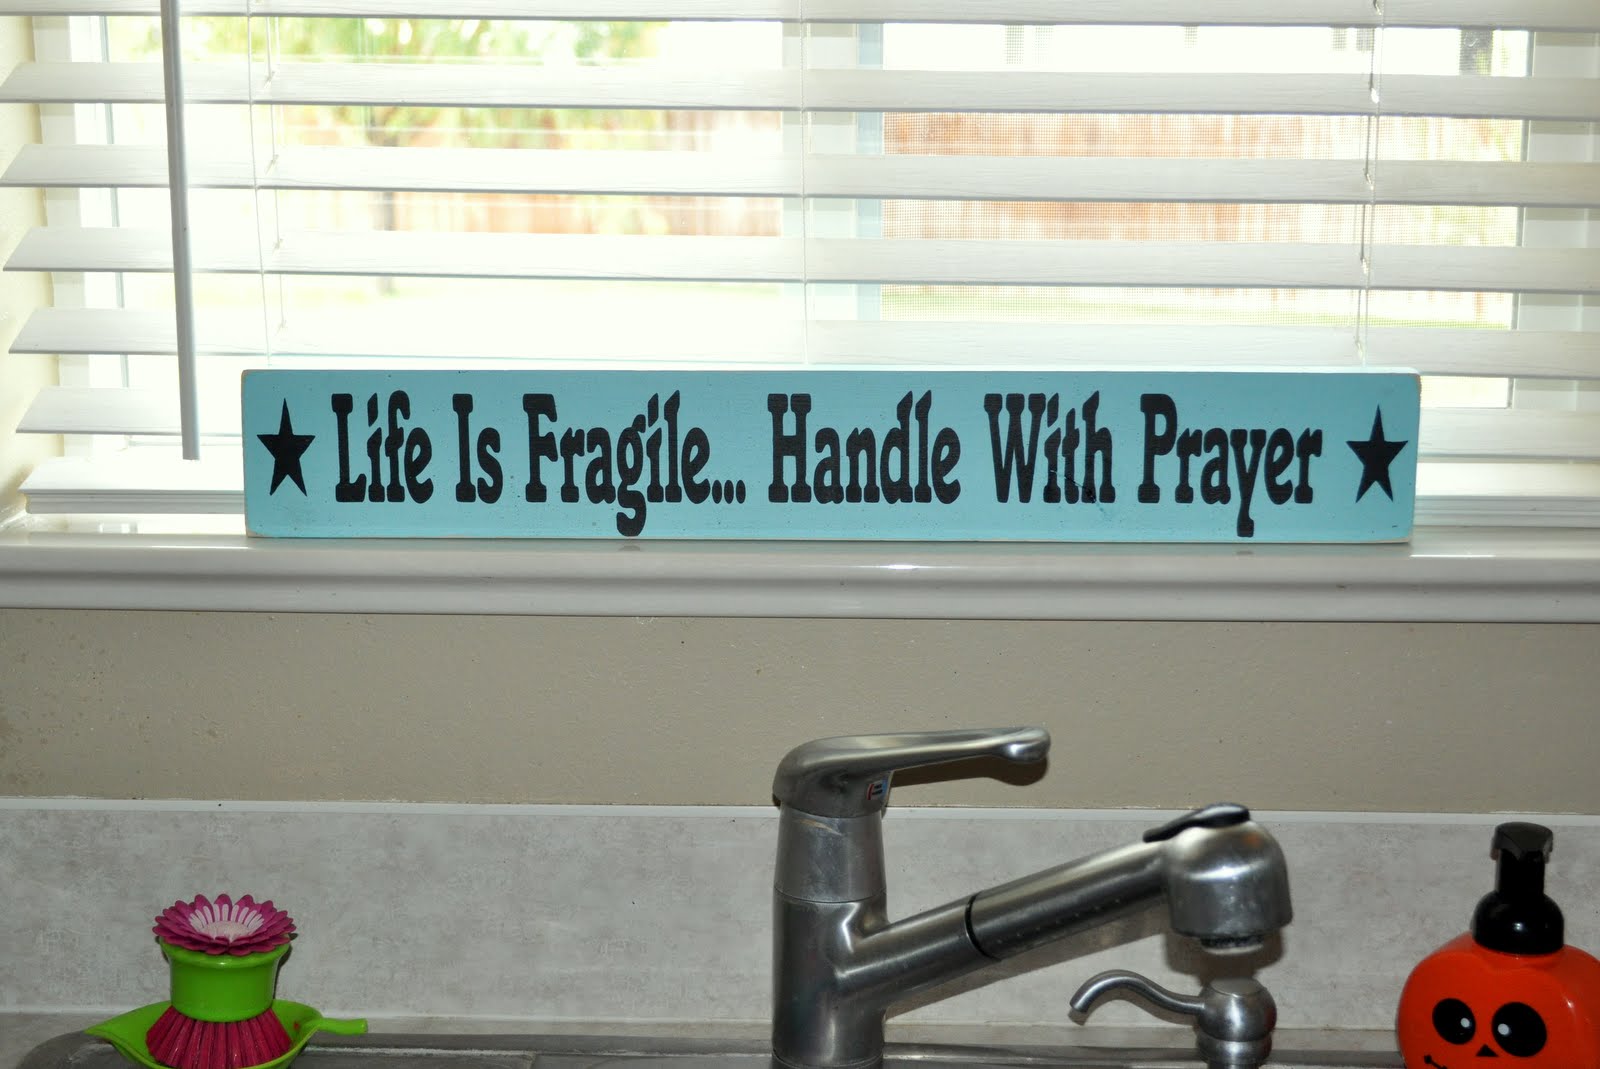
As a sneak peak, I already purchased this light for above the kitchen table.
although I got it for a steal of a deal at a local supplier

Drool!   If the kitchen ends up half as good as it looks in my head... its going to be gorgeous!

Down the stairs from the kitchen is the family room.


This will be our main living/ TV area.  So my thoughts down here is cute, but less formal and more kid friendly then the first floor.  Off of this room the rest of the house is unfinished, but we are going to finish a laundry room, a 4th bedroom, a craft room/guest room, and will have a storage room. (eventually)

All the bedrooms are upstairs.

The kids rooms and their bathroom is pretty basic, but I'll make them cute.


The Master Bedroom also has a bay window, plant shelf, and vaulted ceiling... but its pretty small.  We will have to see how it all works out.


But I'm super excited about the master bathroom!


A jetted tub and corner windows!  The rest of the bathroom is pretty ugly, but its a good layout and I know it will be great once we are done.

The backyard is completely unfinished so putting all that in will come sometime next summer.

The whole house is going to be a lot of work, but it has a ton of potential and will be so cute once I'm done!  Hopefully in a few years once all this is behind us we can make my mom some money and it will all be worth while.

In the meantime, I'm just excited to have a project and a place to live!

And one last sneak peak, here is a sample of some of the colors I've picked out.


It's going to be great!

If everything goes to planned then my hubby is going down to start demolition next week.  I'll keep you posted on our progress.

Now time to go clean out our storage room and get ready for a garage sell this weekend.  Oh the joys of moving!

Monday, October 17, 2011

My Crazy Life and a Free Printable!

If you are one of my more faithful followers, you may have noticed that things have been a little slow here on the ole blog.  That's because my personal life had been in complete chaos.  

Let's start with some background info.  My husband and I are high-school sweethearts and we planned our lives together.  When we went off to college, I majored in Interior Design and he in Construction Management.  We were going to be a killer building team.  Little did we know that putting all our eggs in the same basket (the housing market in our case) was not such a great idea.  We did okay for awhile but about 3 years ago everything stopped.  After struggling for about a year, my husband got a big break and was hired as an equipment operator for a nuclear site.  While it was far from our dreams, it paid good and we were happy.

Well, last month he was laid off.  We had no idea how we were going to provide for our family and we were facing the same trial we had just been through.  We were devastated and scared to death. 

Then my Mom, being the complete saint that she is, sweep down and turned our lives around.  She offered to buy a house in Utah for us to renovate and live in while Ryan goes back to school, rent free.  We are so tired of the unemployment cycle and so excited to start over and do it differently.  But that means selling our house and relocating to Utah.  Gah... so much work!

So the next couple months are going to be spent finishing up all the odd-end jobs around our house, getting it listed, packing up, and moving to another state.  Oh, and starting renovation on the new house so its at least livable when we move in! All before my hubby starts school again in January.

It's a tad overwhelming.

There was a quote floating around Pinterest that really stuck me.  It read "Count your Rainbows, not your Thunderstorms."  Simple but profound.  Even though we are going through a trial and I'm sure we will face more before its all said and done, I feel so blessed to be given the opportunity to change things.  I'm so excited for my husband to choose a new career path and that we have the help from an awesome family to be able to pursue it.  So I'm going to focus on the rainbow and not the thunderstorm.

To remind myself of my new motto, I made a printable and hung it on the wall.


And if you would like to remember to count your rainbows too, here is a copy of the print.


Just click on the image to view it larger, save and print.  It was created as an eight by ten.


I'll be back later in the week to share some pictures of the "new" house and some of the big plans I have for it.  So stayed tuned!

*UPDATE:  Just to clarify, I'm still definitely doing blog designs! Yes, I'm busy but my business will come first.  We need at least one source of income! haha  Also, I will still post on this blog and share all the progress of our new house.  It's going to be really exciting to see it all come together! 

As always I'm linking to these great parties and events:

Monday, October 10, 2011

Halloween Advent Picture Tree

Did you all follow Wood you like to craft? last week?  It was awesome!  We had a blast sharing our Halloween advent displays.  The link party is going on now and we want to see all Halloween wood crafts, so be sure to link up!  In the meantime I wanted to share my project from last week in case you missed it.  Enjoy!
-----------------------------------------------------------------------

Hello wood crafting friends!  Its Krystal from Sassy Sanctuary here and I am SO excited to share my project  with you today!  I know I've said it before, but I love WYLTC!  Each month it pushes me to create something that I never would have otherwise.  Some of my most prized creations (besides my children) are WYLTC projects.  But I think this one is my all time favorite.

When the Crafty Sisters first shared this month's project I was so excited.  I  loved the idea of an advent tree, but the last thing my kids need in October is more candy.  I also had been brainstorming ideas on how to display pictures of Halloween's past so I knew I would kill two birds with one stone and create a count down tree with a photo display.

Ready to see it?


I just love it!

The base is magnetic so I can change out the number tiles while we count down to the big day.  And the tree itself hangs little pictures of my kiddos in their costumes.  So cute!  I just love looking back on all those fun memories!

  
So if you want to make your own, here is the method to my madness.  (its easy... promise!)

First I drew the tree silhouette onto a piece of 1/8" plywood and cut it out with my scroll saw.


If you are a newbie with a scroll saw, then a tree is perfect! If your cuts get crazy it just adds to the look!  Then for the base I simply glued (gorilla glue) some 2x4's together, becuase its cheaper then a post and I had it in the garage.  :)


Time to break out that magnetic primer I've been promising myself I'd use again!  I did a liberal (you want it thick!) application of the primer and let that dry.  Sand it smooth.


Time to paint!  You want to paint your tree, a dowel, and a pack of small screw hole buttons black.  You also want to paint the small wood tiles orange.  And of course distress to bring out the detail!


Then to assemble, drill a hole in your post and push your dowel into it.  Hot glue your buttons all over the tree to hang your pictures from, and then hot-glue the tree to the dowel.

Finish it off by using vinyl (or paint) to add your text and numbers.  I cut white vinyl using my beloved silhouette.  Oh, and add magnets to the number tiles of course!


Then just hang your pictures and enjoy!  I used little picture pendant from the jewlery section of the craft store for my mini frames.


Everything is cuter in miniature!  I put nine frames on so I had room to grow and just filled the empty frames with scrapbook paper.

I love it!


But I've already said that.  :)

Thanks for the inspiration everyone!  This week has been amazing.  You ladies always blow me away.  I can't wait to see all the great Halloween wood crafts the rest of you are going to share!  See ya soon!

Krystal As always I'm linking to these great parties and events:
Visit thecsiproject.com

Thursday, October 06, 2011

YW value plaque

Just so you know, I am sharing my WYLTC project today... and its awesome.  Just saying.

A few weeks ago a neighbor friend of mine asked me if I could help her daughter make a project for personal progress.   Her daughter had a good idea of what she wanted to make, just didn't know how to go about it.  I was so excited.  I got to a have an apprentice!

It was so much fun taking her shopping, teaching her how to use modge podge, and helping her design the graphics to cut in vinyl.  And it turned out adorable!


Didn't the ribbon flower turn out cute?!


It was fun helping her and even more fun seeing how proud she was of it.


Monday, October 03, 2011

WYLTC

It's Wood you like to Craft? time again!  The crafty sisters are leading us with this adorable Halloween advent tree!


Amazing huh!?  Click on over for more details and the tutorial.

I have been a busy bee working on my version of the project and all I can say is, so far, its a.w.e.s.o.m.e!!! I can't wait to show you!

Be sure to follow along this week and start working on a Halloween wood craft of your own for the link party.  See ya there!

Saturday, October 01, 2011

How to add a photo-bar below your header.

As most of you probably know, I'm a blog designer on the side.   I recently did a blog makeover and we put a photo bar below the header.  Well, it's been forever since I've written a blog design tutorial so I thought I'd kill two birds with one stone and show Heather how to change out her pictures and you how to add a photo-bar below your header, all at the same time. 


Adding a picture bar below your header.

The problem with having pictures in your header is updating those pictures.  Especially if you work with a designer, then you have to contact them every time you want an update.  To combat that, I'm going to show you how to add a photo-bar below your header.

It will look something like this....


Pretty blog huh?!  Yup.  I'm proud of that one!

(NOTE: I've switched to the new interface on blogger, so your screen may look different, although the process is the same)

Step 1:  First thing first, you must be able to add a gadget to the header section of your blog.  To do this go to Edit HTML and search for the following snippet of code. (remember you can bring up a search box by hitting CTRL+F)

Then right next to that change "no" to "yes" after showaddelement and erase maxwidgets='1'.  Hit save.  It should look like this.


Now when you go to your layout page, it will look like this!


Hurray!

Step 2: Next you need to load any of the pictures you want to use to photobucket.  Re-size them so they are all the same height.  In this case, I made all the pictures 160px tall.  

Once they are all loaded and re-sized you will see them in photobucket, like so...


Step 3:  Back to Blogger.  Click on "add a gadget" and add the following code to an HTML/Java Script gadget.

 You can repeat the line that you use for your image as many times as you need and you can put the code for space (repeated as needed) in between the image lines to spread the pictures out.


Step 4:  Erase the word image in the code (only the word, don't erase the " marks) and replace it with the direct link to your image from photobucket.


Here is how the code for my example blog looks.

I underlined the direct link in the first photo.  To change that photo, you would just erase that link and put the new link in.
Click Save and then drag that gadget to sit below your header.

There you have it!

Come see me!

Today I'm am sharing one of me very first tutorials over at Remodelaholic.  This post was long before anyone read my blog, but I still think its one of my very best ideas. So head on over and say hello!

LinkWithin

Related Posts with Thumbnails
Don't stop there! Click "older posts" to keep reading!