Showing posts with label home decor. Show all posts

Sunday, January 27, 2013

Nursery Decor- sneak peek

So I am almost done with Jonah's nursery.  There are two more things I plan to add before I share the whole reveal, but as a little teaser I thought I'd share a couple things I made recently for the room.

First, my neighborhood group got together for a craft night the other day.  One of my neighbors had picked up a 9 opening shadow box frame for us all to do.  I have to admit it took me awhile to decide what to do with it!  But I decided to take it and make a "stats frame" for Jonah.  It turned out super cute!


It started out blank like this... (except not painted)


I then got super lucky and found these wood tiles from Micheal's that fit into each square perfectly.  I love it when things work out like that!


Then I went and found some cute scrapbook paper and printed some sepia newborn pictures of Jonah.  I modge podged the scrapbook paper and pictures on some of the tiles and used vinyl to make a stencil and painted the "stats" on the others.  (Tip:  if you have your pictures printed using a laser printer then you can modge podge without them bleeding. I had mine printed at office max.)


Then you can arrange your tiles.  I ended up using clear silicon to glue each tile in place.


Hang and enjoy!


------------------------------------------------------------

I also made Jonah his letters.  I found the wood letters at a local craft store and modge podged more cute paper to them.  (There has been lots of modge podge lately...)


They look so cute on his shelves!


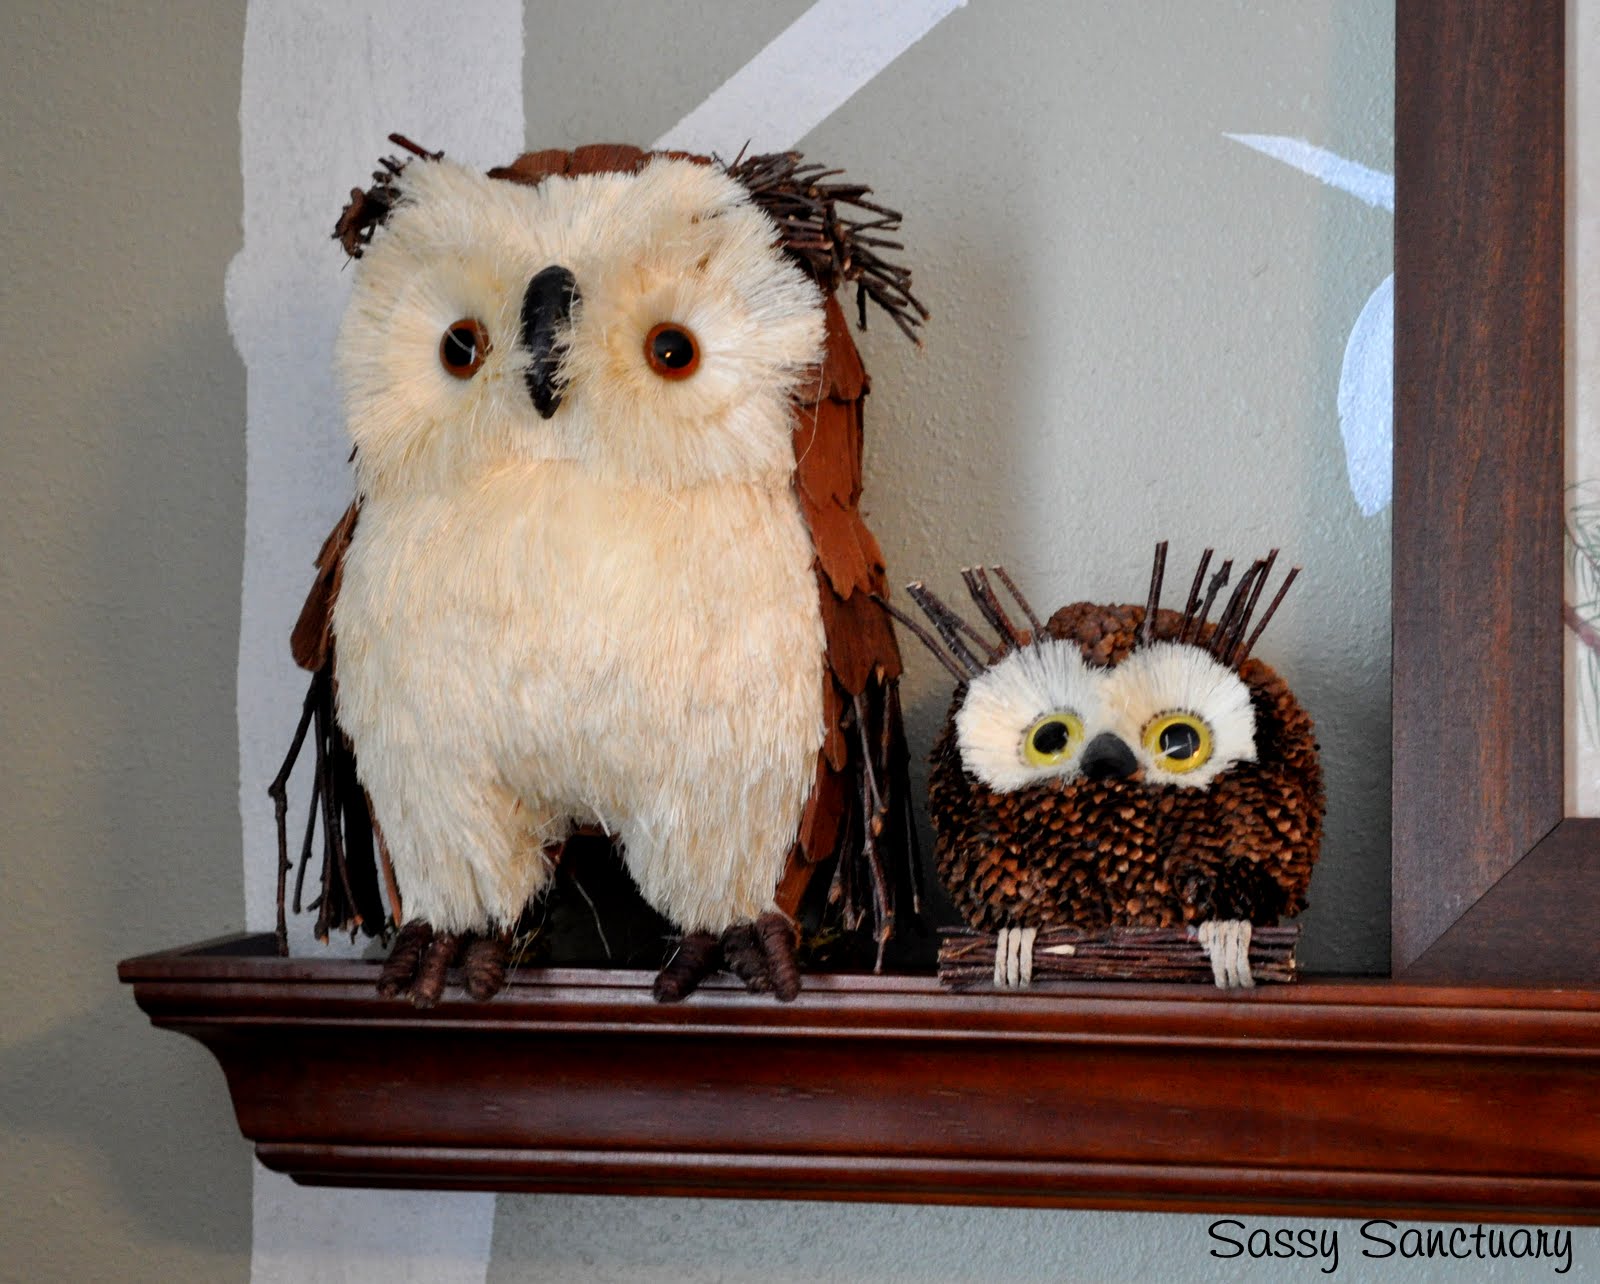
And speaking of cute things on his shelves... aren't these woodland creatures the cutest?!  We found them at Pier1 Imports awhile back.  Love them!


Anyway, that's it for now.  The whole nursery reveal will be coming soon!


As always I'm linking to these great parties and events:

Wednesday, February 01, 2012

Love Day Mantle

 Well... I finally got my Valentine's Mantle display done.  Wanna see?


 Cute huh?!

The only thing new that I added was the paper banner across the mirror.


I had bought the cutest paper pack at Hobby Lobby for another project and just loved all the patterns and had to use them!  It was so so easy.  All I did was cut out the little flags and then hot glued them to a piece of ribbon.  It seriously took about 20 minutes. 


I love projects like that!


On the one side I have my love birds from last year, my family rules, and the same vase from my winter display.


The other side has the other vase from my winter display and the XOXO I made last year.


I mixed the garland from my winter display with a pink feather boa to give it that extra softness and romance. 


And that's about it.  {LOVE} it!  hehe


As always I'm linking to these great parties and events:

Monday, January 23, 2012

Kitchen Reveal!!!

The time has come!  I'm ready to show you guys how my kitchen turned out!  We just finished the back-splash last week so all the major elements are in.  We still have a few odds and ends to do and I need to decorate above the cabinets and make curtains for the window... but I'm excited to show you what we have at this point.

But first I have to remind you what it looked liked when we started...


And here it is now...


As you can see the kitchen got a complete new layout.  The original plan was to just refinish the cabinets and get new counter tops and appliances, but once we got in there we realized that the sub-floor was rotted and needed to be replaced.  And since we had to rip it out anyway, we decided to just start over.

Once the space was clear I immediately decided I wanted to redo the layout.  (Funny how I never would have even thought it was possible until I was looking at a blank space.) We kept all the appliances where they were so we wouldn't have to move plumbing or electrical, but by removing the tiny closet and pantry we made room for a whole pantry wall.


There is SO much more storage here!

And I also decided to get rid of the bar and put an island instead.  It really opens the space and makes for a great center work surface.


And you can bet that I'm loving all those drawers!

The cabinetry was made by Merrill Woodworking out of Rigby, Idaho and they did a fantastic job and came in substantially cheaper then anyone here in Utah.  I had them do all the outer cabinets in this fantastic grey with a brown glaze over the top.


And the island is black with the brown rub-through effect. 


The Granite is also out of Idaho and was done by Universal Stone.  Its "Galaxy Black"  and I love that its fairly uniform and not too busy, but it still has some great character. Its a beautiful mix of blacks and greys with gold flecks in it.


Flooring is the same laminate that is in the rest of the main floor and the walls are Sherwin Williams "Amazing Grey."  The back splash is done in the always classy white subway tile.


So that's it!

I think it turned out amazing and is such a big difference then what was here a few short months ago.  Now I just need to find some time to get up there and decorate!  Can't wait!

As always I'm linking to these great parties and events:

Wednesday, January 18, 2012

Living Room Reveal

So the front living room in our home is basically done so I thought I'd show you how it turned out.  Of course there is still a few odds and ends to do in here (like build a coffee table and get a rug for the front door) but its done enough.... for now.  :) 


I am pleased. 

The rug is from Home Depot, the pillows, accent chair and lamps are from Home Goods, the curtains are from Target.  Anymore questions?  Fire away!

As always I'm linking to these great parties and events:

Monday, January 16, 2012

Printable on a Pillow!

I've been looking for fabric to make an accent pillow for my front room.  I wanted something that would tie all the colors together.  So I needed grey, blue, brown and a touch of gold.  But it couldn't be floral because I got a new rug that's floral (I'll show you guys soon)  Turns out that finding what I wanted wasn't such an easy task. 

I've heard about printing on fabric but I had yet to try it, so I decided to try my hand at making my own fabric design by printing at home.  I used the chorus to "I Cross my Heart" by George Strait because its the song my husband and I danced to at our wedding (ahhhh.... cute I know!)

Here is what I came up with.

(Feel free to use the above printable however you want for personal use... not for resale in any form.  Following first would also be appreciated.)

And here is how my cute pillow turned out.


 I'm really proud of it and was pleasantly surprised at how well the printing of fabric actually turned out. 

If you search "printing on fabric" you can find a bunch of tutorials on how to do it.  Some say to soak your fabric in a product (Bubble Jet) to make it colorfast, other say just to iron it after printing to seal the color.  I ended up just using the print and iron method.  Mostly because I was too lazy to try to find Bubble Jet and its sits in my front room and most likely wont get much wear.  Depending on the application, you may want to look into the other method.


That being said, all I did was take some white cotton fabric and some freezer paper and cut them both to the size of printer paper.  Then you iron the fabric to the shiny side of the freezer paper so that your fabric has a backing.  Then print it using your printers best quality setting.  Once the ink has dried you can peel it from the paper and then iron the ink.


Now its ready to incorporate it into a pillow!  I cut my print into a square and then sewed it right onto the front of another square. I used a pretty stitch that had some weight to it.  Then I frayed all the raw edges.  I love the look!   I just made the pillow an envelope style case. 


Now think about all the cute printable that are out there....or better yet... search "printable" on Pinterest.

I know, enough said!  Go make a pillow!

As always I'm linking to these great parties and events:

Thursday, January 05, 2012

Winter Mantle Display

Sorry about the lack of posts people!  I hope everyone has had a great holiday and that you are enjoying getting back to normal.  I know I am!

We are slowly getting things hung and settled in our new house.  I will show you guys each room as I get them done (if there is even such a thing as "done") and the promised kitchen reveal is coming soon.

I do have my mantle hung and decorated for winter though and I'm loving how it looks in the new space!


(P.S.  I have had a ton of emails asking about my mantle.  My dear husband built it for me.  He has promised to write up a little something describing how it is built and the dimensions and such.  Not sure when he will actually get to it, but I'll keep bugging him until he does.  Okay?)

I put my mirror and shutters up like I had in my old house.  Then for the winter display I have a grouping on one side with my Family Rules Print,  a vase with beads and "ice sticks"  and a glass candle goblet.


Then the other side has my adorable snowman.  My MIL got it for me for Christmas this year and I think its so cute!!!  It reads "Families are forever because love never melts."  Ahhh!!!!


The whole display is tied together with a garland off my Christmas tree and "sugared" fruit  and pine cones scattered throughout.


So that's it.  Its simple but cute.  Can't wait to show you guys the rest of the space!  Be back soon!

As always I'm linking to these great parties and events:

Visit thecsiproject.com

Wednesday, December 07, 2011

Reversible Table Runner

I actually made this a few weeks ago but haven't had time to write about it.  Even though fall is over, its still a cool idea.

Anyway, I have the most adorable table runner from Silly Mama Quilts that looks so cute with my spring and summer decor.  But I needed a fall runner.  I also knew that almost as soon as I got a fall runner made I'd need a winter one too.  So I decided to kill two birds with one stone and make a reversible runner.  I love it!


I had so much fun picking out the different fabrics.  I bought 4 fat quarters for each side and have enough left that I could easily make a couple more.


This was my first EVER quilting experience so I'm super proud!  It's far from perfect (aka straight) but I love it and how it looks with the rest of my seasonal decor!


Here is how I did it if you'd like to make one of your own.


Step 1:  Gather your fabric.  Like I said I used 4 fat quarters for each side with TONS left over.  I decided how wide I wanted my runner (cut it about an inch wider to make room for seams) and then just vary the size of your pieces. (image a)

Step 2:  Using the first side as a guide, cut your second side so that its the same size.  (image b)

Step 3:  Then start piecing your sides together.  Just lay right sides together, stitch, and then continue. (image c) Once you have both sides done be sure to iron all your seams really well.

Step 4:  I basically made mine like you would a big pillow.  I put right sides together and then a piece of quilters batting below it.  Then sew all around the edges leaving an opening to turn it. (image e)

Step 5:  Once you have it turned, hand stitch the opening close and then press really well again.  Then you can finish it by sewing a top stitch all around the runner and doing wavy lines down the body of the runner.  (image f)

I just used a regular sewing machine for this with a regular foot.  It was really quite easy and came together pretty quick.  A great project for a first time quilter! 


You should give one a try.  :)

LinkWithin

Related Posts with Thumbnails
Don't stop there! Click "older posts" to keep reading!