

Adding a picture bar below your header.
The problem with having pictures in your header is updating those pictures. Especially if you work with a designer, then you have to contact them every time you want an update. To combat that, I'm going to show you how to add a photo-bar below your header.
It will look something like this....

Pretty blog huh?! Yup. I'm proud of that one!
(NOTE: I've switched to the new interface on blogger, so your screen may look different, although the process is the same)
Step 1: First thing first, you must be able to add a gadget to the header section of your blog. To do this go to Edit HTML and search for the following snippet of code. (remember you can bring up a search box by hitting CTRL+F)
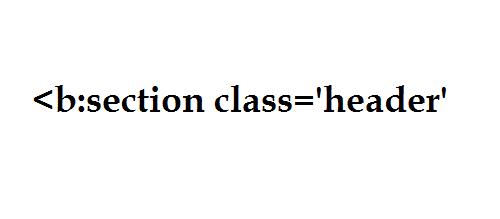
Then right next to that change "no" to "yes" after showaddelement and erase maxwidgets='1'. Hit save. It should look like this.

Now when you go to your layout page, it will look like this!

Hurray!
Step 2: Next you need to load any of the pictures you want to use to photobucket. Re-size them so they are all the same height. In this case, I made all the pictures 160px tall.
Once they are all loaded and re-sized you will see them in photobucket, like so...

Step 3: Back to Blogger. Click on "add a gadget" and add the following code to an HTML/Java Script gadget.


Step 4: Erase the word image in the code (only the word, don't erase the " marks) and replace it with the direct link to your image from photobucket.

Here is how the code for my example blog looks.

I underlined the direct link in the first photo. To change that photo, you would just erase that link and put the new link in.
Click Save and then drag that gadget to sit below your header.
There you have it!


