
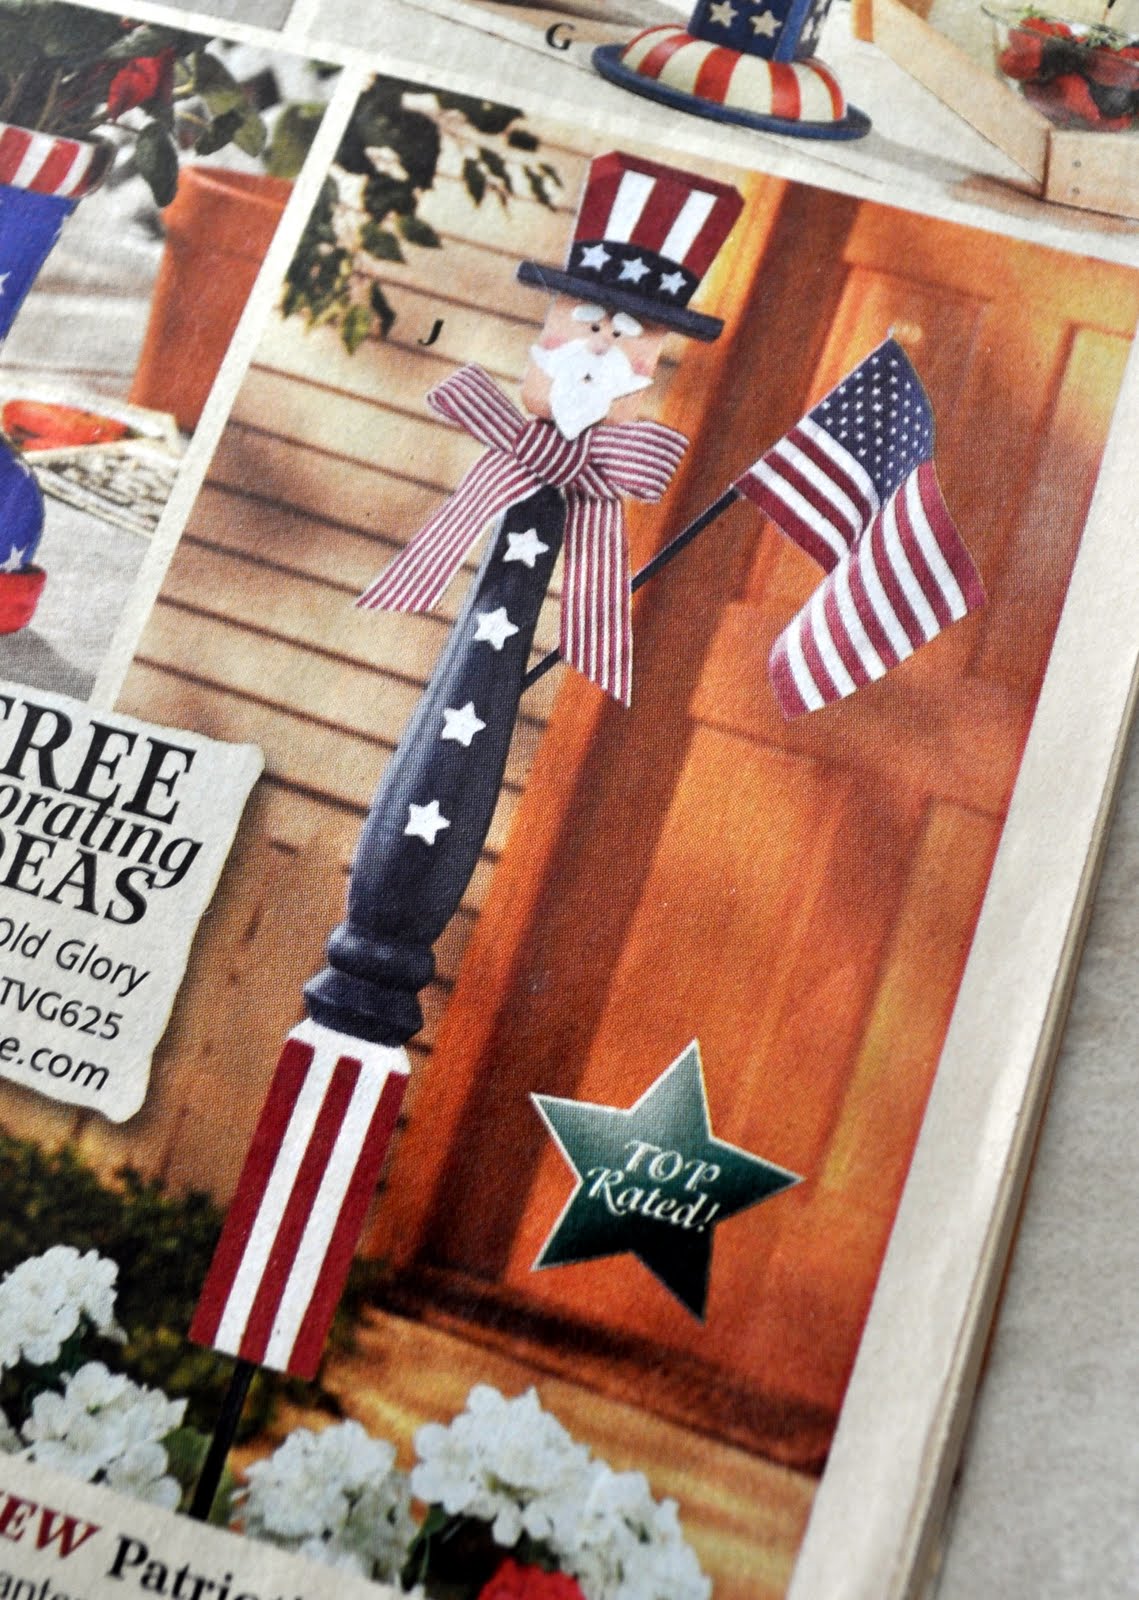
Here is the original, straight from the catalog.
And here is mine. :)

Hehe.... the only difference being that I took a page out of Wendy's book and made it out of a table leg. Also, the original was a garden stake, but I gave mine a base so that it could hang out on my front steps.
I just love him! I think he is super cute!

My hubby asked if it was a little early to start decorating for Independence Day, but I didn't think so. I LOVE the 4th of July! (as in my all time favorite holiday hands down) So the fact that I can kinda get away with it just makes me super excited!
Do you need your own Uncle Sam? If so, here is how I made mine.

Step 1: Gather your supplies. You will need a table leg, a square piece of wood for the base, a smaller square for the hat, 2 square blocks, a beard (I cut mine out of 1/4" plywood but craft foam would be a good substitute) hot glue, ribbon, a couple of wood screws and craft paint.
Step 2: paint your red. I painted the base, the bottom of the table leg, and one of the blocks.
Step 3: Paint your blue. I painted the rest of the table leg, and the smaller square.
Step 4: Add your white. I used painters tape and a vinyl stencil to add my stars and stripes.
Step 5: Paint the last block flesh toned and paint your beard white. I used a brown sharpie to draw in the definition on the beard before painting it white. The brown sharpie bled through just enough to give me the look I wanted. I also added a little nose to the beard.
Step 6: I then took all the pieces out and gave it a bit of distressing with my sander. This is optional of course.
Step 7: Time for assembly! I used a couple of wood screws to attach my base to my table leg, but then just hot glued together the rest.
Step 8: The last step is to add in the details. I added a little mouth to the beard, eyes, painted on some eyebrows, and tied a bow around his neck.
And there you have it. Uncle Sam!

And because its too cute not to share, while I was making this one of my little neighbors was over playing with my daughter. She sat and watched me paint almost the whole time and then asked to get a picture with "the old man." hehe

As always I'm linking to these great parties and events:


